Verwaltung von Cookies, die für die Werbung verwendet werden, wie z. B. Anzeigenpersonalisierung, Remarketing und Analyse der Anzeigenleistung.
4.3.9.9. Set up calendar synchronization in eM Client (CalDAV)
- Create a connection to access the calendar in WebMail classic.
- In the app's main menu, select "Menu → Tools → Accounts":

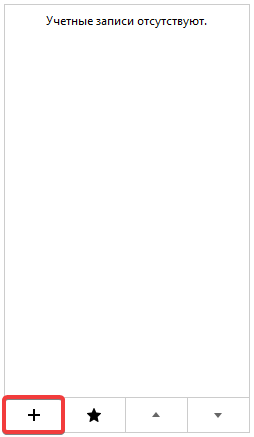
- Click ➕:
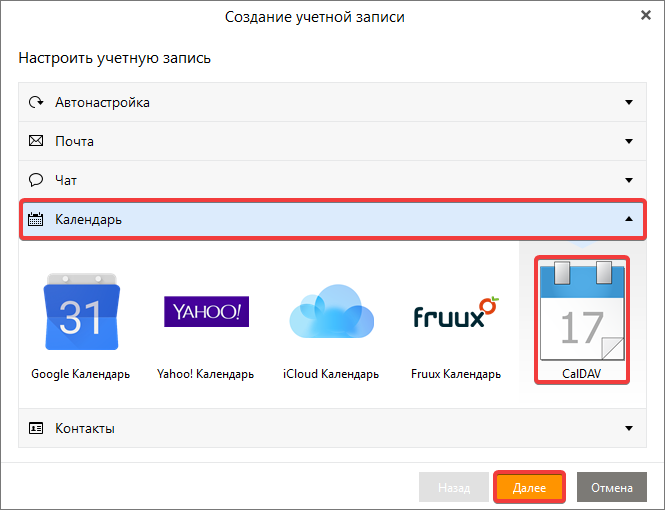
- Select "Calendar → CalDAV" and click "Next"
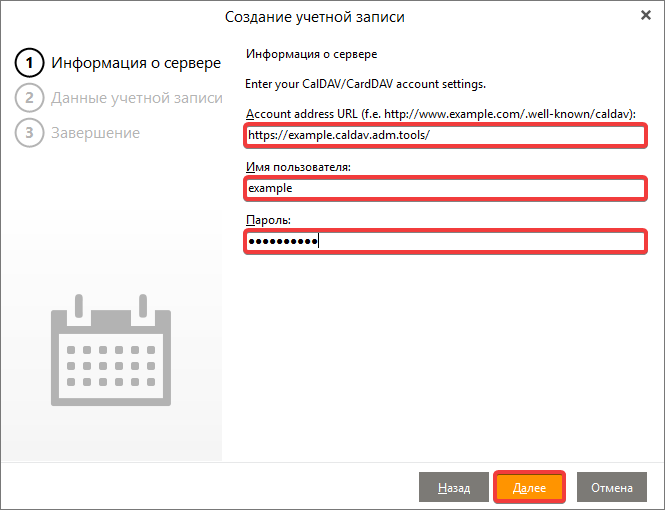
- Enter the main URL (not the alternative one), username, and password obtained in step 1, and click "Next":
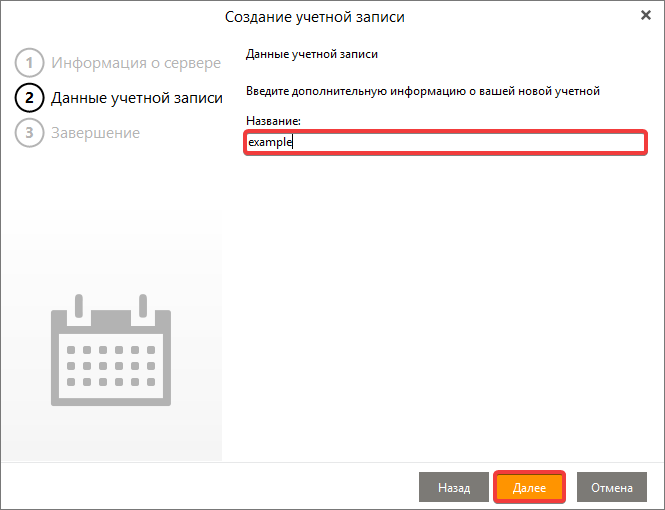
- Enter any name for the account that will be used to identify the calendar, and click "Next":
- Complete the creation of your new account and check that your calendar is synchronized.