Verwaltung von Cookies, die für die Werbung verwendet werden, wie z. B. Anzeigenpersonalisierung, Remarketing und Analyse der Anzeigenleistung.
4.3.2.1.1. Set up filters in WebMail classic
Attention!
Filters process only mail that is received after they are created. They do not apply to messages that were already in the mailbox when the filters were created.In WebMail, you can create filters for email received in a mailbox. You can use them to define actions that will be performed under certain conditions. For example, you can configure email from specific senders or with specific text in subject or message body to be automatically forwarded to another mailbox, moved to a specific folder, or deleted.
Create filter
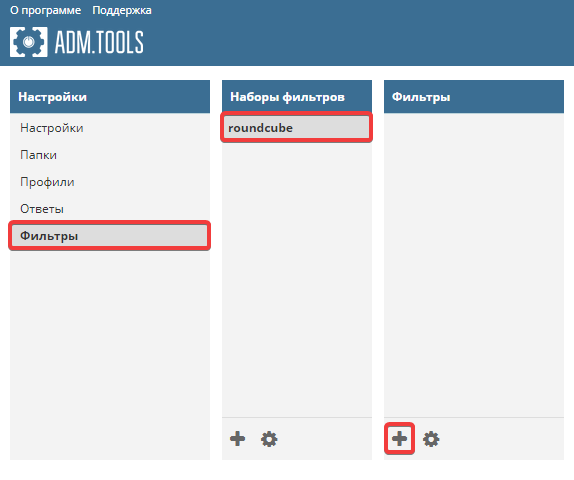
- Go to WebMail classic settings:

- Open the "Filters → roundcube" section and click filter add button:
- Enter filter name, conditions, and actions to perform when specified conditions are met:
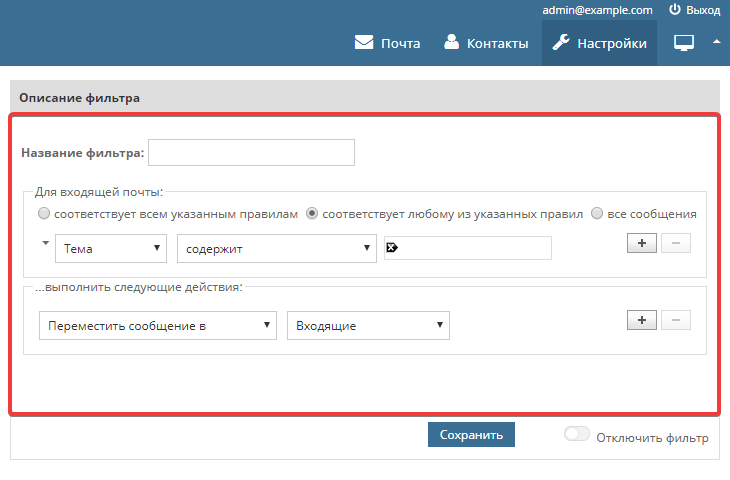
- Save your changes and check the filter's operation by reproducing the conditions under which it should work.
If necessary, you can later edit, disable, or delete created filters at any time.